
How to make your own Go Kart frame
A Go Kart is a racing buggy that has a simple design. It has a small body, a set of four wheels and comes with a motorcycle or automotive engine.
You can construct one on your backyard or the garage and use it to move around home and off-road. Creating one is an exciting project that you can undertake with family and friends even without an educational background in automotive engineering.
One of the major parts is the frame. A sturdy frame enhances its stability and your safety while racing. Its design affects the speed, air flow and your ability to control your off-road truck. Here is a step by step guide on how to build the Go Kart frame with steel metal tubes.
Things to Keep in Mind When Building your Frame
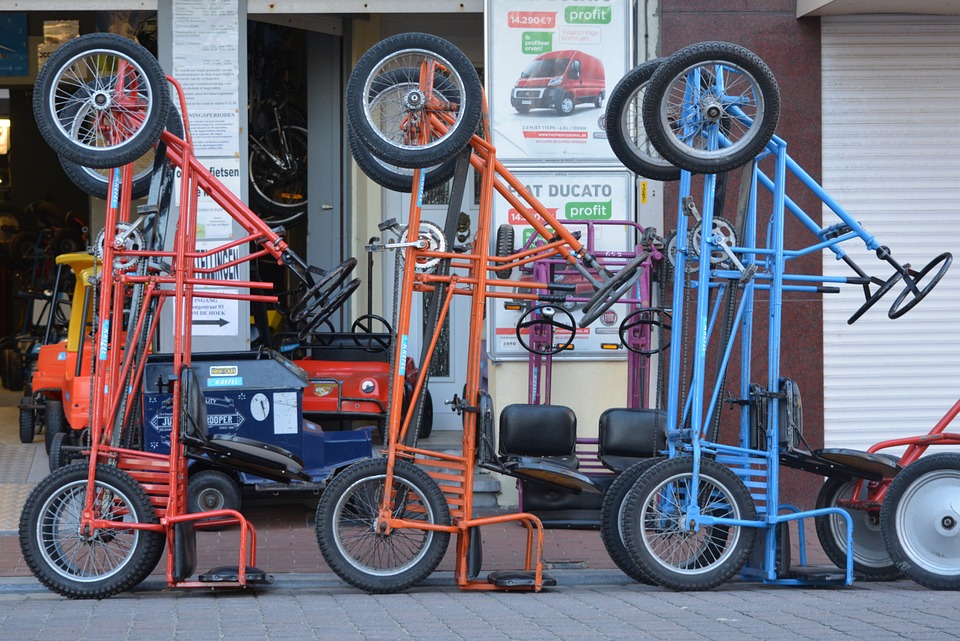
IMAGE BY:PIXABAY
Here are a few things to consider when building your Go Kart frame.
Always measure the steel frames twice before cutting. It ensures that the stated lengths are correct. Also, use the same units all through your measurements to avoid confusion.
Never use welded pieces to make the supporting beams. These beams take in a lot of tension forces when your truck is moving. Therefore, the welded parts are most likely going to be points of weakness.
Furthermore, you should draw a pattern or a template beforehand so that you are sure that you are building the right thing. You might create a different item if you are relying on your mental image for the construction. After setting up the Go Kart frame, ensure that you weld all the joints properly. You can use steel clips to ensure that all the pieces are in place when fusing them.
The size of nuts and lock bolts should be accurate. You should always put a washer between each nut and bolt. Join the edges of the steel tubes to minimize warping.
Tools Required:
You have to ensure that the Kart can steer well when designing the frame. If the steering geometry is not right, you will have problems making turns even at slow speed.
The Kart is not like a car that has a differential. The wheels interlock together and move at the same speed. Therefore, the frame design should allow for a little lift off the ground on one of the wheels when turning to let a smooth change in direction.
How to Design the Frame
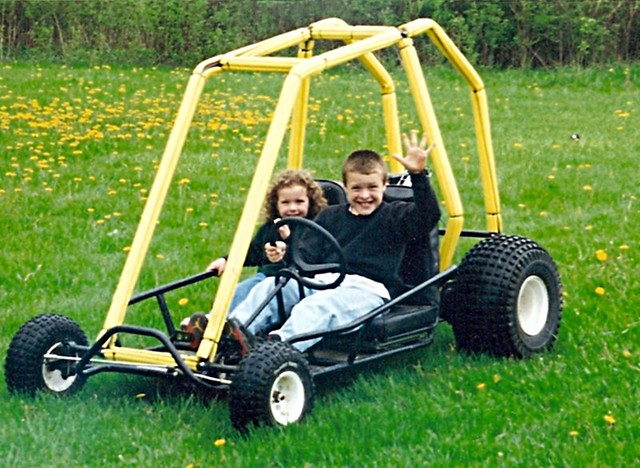
IMAGE BY:flickr
You will find several measurements on the internet. However, to be on the safe side, pick a kart design and use the same model all through the construction process.
Mixing up plans is likely to damage the steering geometry and interior space. At this point, ensure that you also decide whether you are going for a single person carrier or a two passenger carrier Go Kart.
As for the choice of materials, you can go with a wide selection of steel tubing. However, 30mm square steel tubing for the mainframe, 25mm round steel tubing for the rest of the frame and 19mm round tubing for the seat support should work fine.
What to consider when designing a Go Kart Frame:
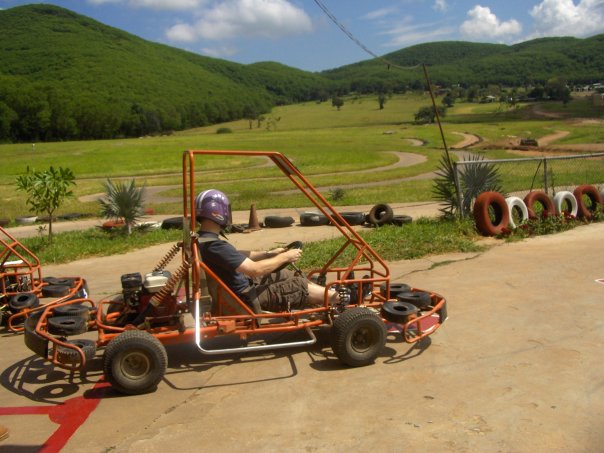
IMAGE BY:flickr
When creating the frame, you need to consider certain factors like:
The Track and Wheelbase
Consider a track and wheelbase which is similar to that of the race kart. Most of the race karts use a wheelbase of 1040mm and about 680mm as the distance between the kingpins. With this spacing, you will find handling your Kart a lot easier.
Give Enough Space between the Wheel Spokes
You need to ensure that the wheel spokes are a few inches from the frame. The wheels will need some space to move without the tire rubbing on the frame. Also, try to keep the structure as simple as possible. Multiple bends will complicate the whole design. Only make a curve where it is necessary.
If you place the bearings too far from the rear wheels, there is a chance that the rear axle is likely to bend.
Check if you can Adjust the Chain
You should be able to adjust the chain with ease. The driver’s position on the kart is the most important. You have to ensure that he or she is comfortable.
The rest of the design elements of the frame are up to you. Just ensure that everything else fits well, and the kart looks good. As long as you’re sure that the steering measurements are accurate, the rest of the dimensions do not affect the control of your kart.
Step by Step Process on How to Make Your Own Go Kart Frame

IMAGE BY:flickr
Here’s a detailed process on how to make this frame.
Designing the Frame Jig
The jig is a vital part of your frame design as it puts everything in position and flat so that you can work on the frame conveniently. You can make with a sheet of MDF or plywood. The only other thing you need is a felt pen and some screws.
Start by drawing a straight line at the center of the sheet and use it as a guide to do all your angles and measurements. Draw your kart frame as if you are looking at it from above.
You should be able to correctly show the location of the wheels, motor, pedals, seat and the position of the driver. You can first outline it on a piece of paper and then transfer the same to the MDF with the right measurements.
You can adjust the drawing if you find some spaces are not adequate. It is easier than changing the frame later on. Once you are sure that the drawing is correct, you can now start cutting steel pieces and laying them on the drawing as you have drawn.
You may decide to insert the engine at the rear or the front. Wherever you decide to put the engine, create frames to hold the engine in position. Create an engine mount of 30mm square tubes and drill 9mm holes to build the engine onto the frame of your kart.
Cutting the Kingpins
The kingpins are steering pivots that you use on the front wheels. Cut the kingpins at least 50mm in its length and 25 mm in diameter. Cut the pins from solid round steel. The ideal cutting length is 55mm. Drill a hole in the middle of the solid round steel using a drill press. Ensure that the gap has a diameter of at least 8mm.
You can start with a center drill to make the hole of 10mm diameter at the opening and then a smaller drill to create an 8mm hole for the rest of the material. Lube the drill bet every after a short while to avoid breaking it from the heat generated in the process.
Once you have two pins ready, use the lathe machine to cut off 5mm from each piece. You now have to front wheel pivots to use in another stage in your construction.
Steering Bushes
You also need to have a steering bush. You can use a 3D printer to print it. However, you will also find cheap steering bushes at karting stores and auction websites such as eBay. The bushes come in a variety of styles. However, they are only two shaft sizes of 19mm and 20mm. Check the size of your tube to purchase a steering bush that fits your steering hub correctly.
Designing the Steering Column
Despite being a rather easy part to design, most people have problems getting the measurements right. Otherwise, you can buy a steering column on online sites. The steering column is usually a 19mm tube that has a bolt welded at the bottom. It has a triangular-like look with round edges and one large hole on the top edge and two more at both of the other sides. Check the dimensions of the steering column online.
Designing the Steering Hub
The steering hub is the part of the frame that connects the steering wheel to the steering column. Again, you can purchase the part on the internet. However, if you decide to design it, use cast aluminum. The steering hub and steering bush should all be of the same size. You can then use the steering wheel as the jig so that you know where to drill the mounting holes.
After marking the location of the first hole, use a 5mm drill and then 6mm tap to thread the hole. Bolt the steering wheel and mark the other two holes when the steering wheel is still in place. Ensure that one side of the steering wheel has a large hole. The large hole ensures that the screw tightens on the tube and not the steering hub.
Set the Kingpin Angles
The kingpin angles determine if the cart is going to navigate corners. To get the edges right, you should create a jig. You can make the jig from two square plates at the size of about 4 inches by 8 inches. Drill four holes onto the small plates. Then, weld in an 8 mm steel rod kingpin. Place the rod in such a way that it leans 10 degrees away from the center where you weld it to the plate. This is the Kingpin angle of inclination.
To get this angle right, draw the angles on a piece of paper large enough to a cat as a jig, Draw a 90-degree angle from the base of the paper and then a second line which is 10 degrees away from the straight line on the left. Weld the kingpin on each plate on the 10-degree line. This will help in steering your kart. Place a welded kingpin on the right and the left if of the front which frames on the MDF jig.
Bending the Tubing at the Bumpers
As said earlier, you use the 25mmm steel tube on the rear and front bumpers and a small 19mm tube for the seat mount, bumper mount and steering column mounts. Start placing the tube on the MDF jig from the point where you will set the wheel frames. Measure the distance to the first bend and use a bender to bend the tubing.
Place the tube on the MDF to ensure that you have made the bend right. Then, measure the distance to the second bend and user a bender again to make the second corner. Run the tube up to the position of the front wheel on the opposite side. The rest of the frame should be the 30mmm square tube stated above.
Create the seat support structure. Its shape resembles the frame of a chair. Measure the base of your chair to ensure that the holes of the seat fit onto the structure so that you can bolt the seat onto the frame when assembling your go kart. Use a bender to bend the outline of your set frame and drill 5mm holes where the seat bolts come into place.
Making the Pedals
The pedals look like your average car pedals. Copy the make of the racing Kart pedal which allows you to bend it in an upright position when you need to stop. You will need to pedals which look similar to each other. Each is to have a set of at least three holes where you will place the throttle and brake cable respectively.
Apart from the part where you will be pressing with your foot, the rest of the pedal should be made of a 13mm pipe with two bends, one at 90 degrees and the other at 135 degrees. You can bend the steel pipe efficiently using oxy-acetylene gas heat. You can make a template of the pedals using wire so that you make a pedal that matches your foot shape and size.
Stub Axles and Brake Calipers
You can make your own or purchase stub axles from sellers on the internet. Purchase two axles, one for the front and the other for the rear wheels. The brake caliper mount, on the other hand, is easy to make from a piece of steel block that is 100mm x 6mm flat mild steel. You can still purchase one at a few dollars on the internet. If you decide to make your caliper, cut two mounting holes that are 80mm apart and cut off the corners of the caliper for added safety. Weld the brake caliper mounts last after bolting on the brake disc and the axle.
Welding All the Pieces Together
The MDF jig helps you fit all the parts together with much ease. Before, welding, go through the entire frame and ensure that all pieces fit. If you have never done welding in the past, it is good to do a little practice before you start welding your frame. The quality of welding plays a role in the safety of your cart. A poorly welded frame may come apart on the road which is very dangerous.
If you have MIG and arc welder at your disposal, consider the MIG as it is a lot quicker and does not require you to knock lots of slag after welding. Tack the whole frame together before welding everything permanently so that you give it a final look and determine that everything is set where it should be.
Weld the steering column arm and the brake caliper last after you have assembled everything else on the kart.
The Floor of Your Kart
Your kart requires a floor. A 1.2mm thick aluminum sheet will work just fine. Create and weld some bolt stabs onto the frame so that you can use them to bolt the frame onto the floor. Consider using 6mm bolts.
When cutting the floor, place the Kart frame onto the aluminum sheet and then trace the entire length of the structure onto the sheet. Then, proceed to cut the floor with a nibbler as per the traced lines. When doing so, round any corners to prevent cracking or accidental injuries.
Once you have cut the floor, place the frame onto it and mark the areas where you will bolt in your nuts. Drill the holes and bolt in the frame onto the floor. At this point, you should have a skeleton Go Kart frame. You can then bolt in the seat and the wheel hub.
Take on the driver’s seat and check if the kart is comfortable to drive. You can make seat adjustments if you feel squeezed or have not sat in a comfortable position. Then, install the axles and the wheels onto the frame.
Final Thoughts
The go kart frame is the skeleton of your Kart. You need to take all the precautions to ensure that it is sturdy and robust enough to handle abuse out there on the road. Be careful on the quality and the size of the metal tubing that you use on every part along with the quality of the welding. A very thing frame is weak and may warp when it goes under pressure. Poorly done welding may also come off on the road. Good luck as you build your next Go Kart.