
How to Install a Go Kart Torque Converter in 10 Simple Steps
A torque converter consists of a set of clutches that you install on an engine to cause it to spin faster. A faster spin increases the number of revolutions per minute and thereby increases the speed of the engine. Installing a torque converter is straightforward, and the change of speed is noticeable.
The installation process comes as a set of instructions that come with the torque converter. This article takes you through the main points of getting the torque converter into your engine.
Tools and Items Required
- The torque converter
- An open-end wrench set
- Screwdrivers
- Jack stands
- Instruction
- Spark plug socket
- Ratchet and Socket
Getting Started
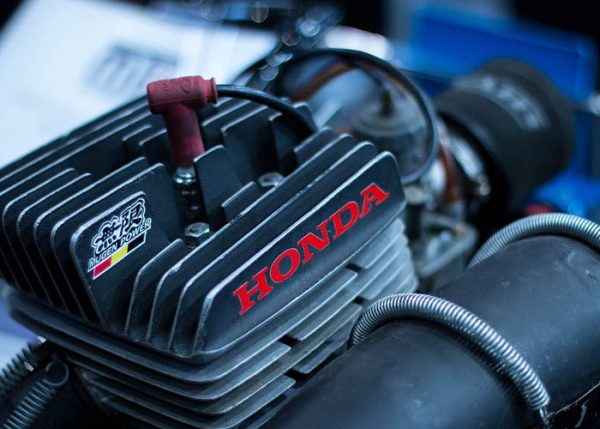
Image Source: Pixabay
The installation process starts when you remove the clutch from the standard engine that you had installed. You need to remove the lid of the spark plug by pulling. Ensure that you do not twist as you will be damaging the lead.
Use the spark plug socket to remove the plug in an anti-clockwise method. Do it carefully to avoid damaging the tip of the plug. You should install the piston locking tool by winding the tool into the spark plug hole by hand or a screwdriver. Do this until you can feel the tool touch the top of the piston.
Once the piston stop tool is in, wind the crankshaft in anti-clockwise direction using a ratchet and socket until you fill the piston locking on your tool. Wind down the crankshaft retaining bolt in an anti-clockwise direction until it cracks and loosens. Wind it all the way out.
Slide off the clutch from the engine by pulling it away. You may use a gear removing tool to remove the clutch with ease.
Installing the Go Kart Torque Converter

Image Source: unsplash
Here are the steps to follow to install the go kart torque converter.
Install the backing plate and the jackshaft
Most of the conventional mower, motorcycle engines come with a set of four holes where you can fit the M8 short bolts. The holes are on the side of the crankshaft. The holes may differ in their location from one engine to the other, but the holes line up. If they do not, you may have to drill other short holes to fit your backing plate. Otherwise, the backing plate will bolt on the existing holes.
Note: In some engines, you may find that the black oil filler plug protrudes when you install the jackshaft. In most cases, the protrusion is just 1mm or less. Therefore, you do not need to modify the plug but can file off the protruding 1mm using a bastard file.
Slowly lift the backing plate onto your engine and make a rotation such that the bolt holes in the backing plate match the bolt holes on the side plate of the engine. Make sure that these bolt holes are evenly spaced on the crankshaft so that it becomes centrally placed. This is vital for the accuracy during installation.
Tighten the bolts up to 12NM to avoid damaging the backing plate. From this point, locate the spacer 3/4 ring. Push the spacer onto the crankshaft of the engine so that it rests on the bearing, seal and the side plate. Look it down from the side or top to see if you’ve correctly installed it. It should always be in line with the backing plate of the torque converter.
Most of the engines come with a jackshaft along with the driven pulley pre-assembled. However, if your torque converter does not come with all the components assembled. Here is how to join them
Determine if you have all the parts
The parts of the system include the driven, back plate, jackshaft. Jackshaft sprocket, keyed nut, a key, NYLOC Nut and a washer.

gif source: giphy
Install the jackshaft into the back plate
Ensure that you push the jackshaft into the rarer of the plate until the bearing meets the circlip. You can work with the back plate face up. Then use a rubber mallet to push the jackshaft all the way up.
Install a stand washer all the wall down the shaft for the security of the bolting
Insert the key onto the bottom of your shaft and place it against the wash that you installed in the step above. Install a jackshaft sprocket down the shaft so that it also sits against the washer that you had installed before.
Install the Driven Pulley
The driven pulley should rest on the sprocket that you had installed earlier
Install the Keyed Washer
Slide the keyed washer down to rest on the driven pulley that you have just fixed.
Install the NYLOC nut
Finish off the assembly by installing and tightening the NYLOC nut. Ensure that the bolt is firm, but it is not very tight.

gif source: giphy
Install the Asymmetric Belt
The Go Kart torque converter uses the asymmetric belt to transmit power from the driver to the jackshaft or the driven pulley. It rides on the angled faces of the pulley and makes a change on the drive ratio. This is why the belt is critical to the operation of the torque converter.
The belt comes with two faces. One of the faces should have a curve while the other is square. When installing the belt, the angled side must always face the engine for the belt to function as required.
When installing the belt, start by removing a small box that comes with your torque converter by cutting the zip tie. Then dismantle the whole unit while leaving the weight attached to the drum. From this point, pick the flat driver pulley half and slide it slide it onto the crankshaft with the protrusion (called flange) facing away from your engine.
The flat driver pulley comes keyed. Therefore, you would need to align the key with the keyway that is on the crankshaft or otherwise it will not get in. You will also have another smaller flange that will match up against the 3/4 inch spacer that you had installed in the last step.
Note: The one-inch flat driver pulley does not require a brass bush. The only thing you would need to have is the brass ring which you slide over the crankshaft and then on the flange protrusion.
From this point, orient the pulley belt such that the square edge faces the engine. Then place it over the jackshaft pulley which is the large driven pulley. If you do so, it will slot loosely into the groove. After this, slip the other side of the belt slowly over the brass ring. You will find it a little loose, but it should stay in place.
Install the Driver Pulley
It is now time to put all the remaining pieces of the driver pulley into place. Start by sliding the splined bush onto the engine’s crankshaft so that it sits against the half of the flat driver pulley half that is on the crankshaft.
The splined bush has two sides that do not look similar. One side has one cut out and the other two cutouts. The side that comes with two cutouts on each side of the flange is the side that you must put facing away from the engine.
When you do so, the squared part of the hat fits into it effortlessly. The splined bush comes with keying. Therefore, you would need to align it with the keyway on the crankshaft so that it can slide in with ease.
Follow up by sliding the drum and weight onto the crankshaft. Ensure that the splines will align and that the weight faces outwards. Once you have installed the splined bush correctly, it must connect and lock the hat in position correctly. On the other hand, a properly installed hat should rotate with the crankshaft with ease.
The drum hat is on one end of the splined bush. If you find that the hat is loose, it may be because you had installed it in the opposite direction. Remove and fix it in the right direction.
Proceed to the next step by locating the long UNF crankshaft bolt (it is 5/16 inch in many models), the engine washer and the end cap. Assemble all these parts. Place the end cup on the flange in such a way that it faces upwards. Then place the machine washer on the top before threading the long UNF crankshaft bolt through the assembly into the crankshaft. Tighten up the bolt to about 20nm to avoid damaging it.
Tighten the large NYLOC nut that is next to the jackshaft. This helps align the belt well. You can now install the chain over the sprocket on the jackshaft.
Install a Cover Shroud

image source: unsplash
Most torque converter shrouds come with M6 bolts to hold onto the engine. If the holes do not align, you may need to drill small holes but be careful not to damage the entire assembly. In most cases, the shroud fits over the pulleys and aligns to two holes on the top and two holes on the bottom at the backing plate. Install these bolts but do not overtighten them to avoid damaging the back plate.
If you complete these steps, you have installed a torque converter onto your Go Kart engine. You can now enjoy faster speeds as you race tracks at home and out there.
Safety Precautions
The increase in speed of your Go Kart may pause a safety risk. Therefore, never drive the Kart under the influence of alcohol or any other drugs. Ensure the torque converter must always be bolted onto the crankshaft side of the engine and not floating on it to avoid damaging both engines.
The center line of the jackshaft and the crankshaft should always be parallel to each other so that the belt runs as it should. Otherwise, you can damage the belt from the tensional forces. Also, depending on your type of engine, you may have to raise the engine a little bit (about 2 inches) to use the torque converter.
You should never drive your Go Kart without the right protective clothing especially the helmet. You should also avoid wearing loose clothing.
Troubleshooting Tips
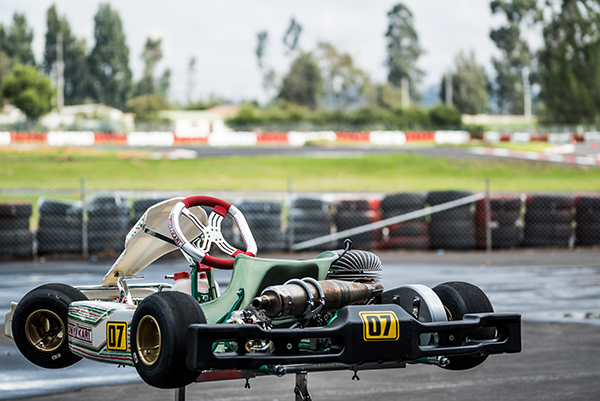
Image Source: unsplash
Here are some guides for troubleshooting Go Kart engine problems when you install a torque converter.
Rapid Wear of the Belt
Rapid belt wear occurs when you place the belt wrongly. The angled side should face the engine. Another cause is overloading the drive system or the misalignment of the pulleys.
Jerky, Poor or Sluggish Acceleration
If your Go Kart has sluggish or jerky acceleration, it is most likely a dragging or binding braking system, axles or the bearings. If not check if the drive chain is well-lubricated or tight enough. If none of these is the cause, check the engine.
The Kart Moves when the Engine is Idling
If you find that the kart is moving when the engine is on idle mode, you might have installed a wrong drive belt such as very short drive belt that is causing the machine creep when the engine is idle. The engine idle may also be set too high, or the driver play may also have the wrong spacing.
Slow Speed
The slow speed is due to a malfunctioning drive system or an improperly adjusted throttle cable. If not these two, check if the engine is functioning correctly.
Final Thoughts
You expect better operation and ease when driving your Go Kart after installing the Go Kart torque converter. Take your time to adjust to the speed changes especially when accelerating so that you can control your buggy well. You can expect to feel the added power and thrill that comes with it.
The modifications suggested in step above do not damage your primary engine given that the significant change is the removal of the centrifugal clutch system. The system should fit any motorcycle and lawnmower engine or many of the 6-10 HP clone engines commonly used in Go Karts. Enjoy your ride!
Featured Image via Pexels